Monday, 2 May 2016

Deep Clean Your Bathroom in 7 Simple Steps

How Gross Is the Bathroom?

According to University of Arizona professor of microbiology Charles Gerba, who has conducted many studies of household bacteria, pretty darn gross. With supereffective tactics from Aggie MacKenzie, a coauthor of How Clean Is Your House?and with Gerba’s gory details to spur you on—you can clobber germs like never before. Whether you divvy up your antibacterial blitz into small sessions or complete it in one fell swoop, implementing these habits every couple of months will be like flushing your worries down the…well, you know.

Shower

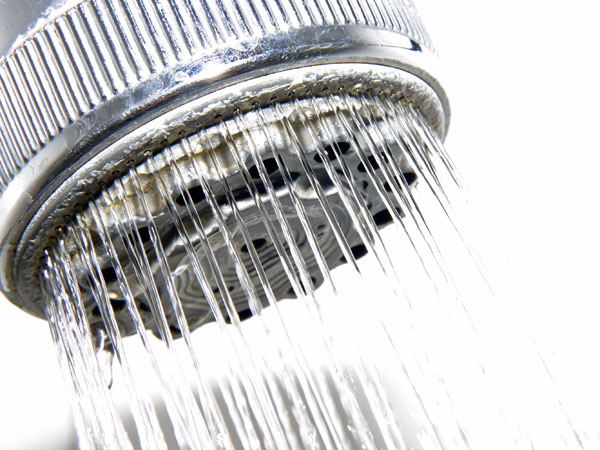
What to do: Take it from the top: Pour an ample amount of white vinegar into a plastic grocery bag (enough to fully submerge the showerhead nozzle) and tie it in place for an overnight soaking. Remove it in the morning and run the water to rinse. Give plastic shower curtains and liners a spin in the washing machine with your regular detergent and a few old towels, which act as scrubbers to help get rid of soap scum and mildew. Rehang to dry. For shower doors, make a paste by adding a few drops of distilled white vinegar to a cup of baking soda; apply it directly to the door (it’s nice and thick, so it will stick). Let sit for an hour, then rub with a microfiber cloth. Rinse and buff dry with a fresh, dry microfiber cloth. The tub is less of an issue—a weekly scrubbing is usually enough. But for extra gleam, fill it with hot water, then drain. Apply a bathroom cleaner and let sit for 15 minutes before scrubbing.

Why: Besides the soap-scum issue, there’s the showerhead, which can harbor Mycobacterium avium, a pathogen linked to pulmonary disease. Gerba says that turning on a neglected shower can send millions of germs straight into your lungs.

Best practices: Wipe condensation from all surfaces after showering, and leave the window open for one hour a day to lower the room’s humidity level

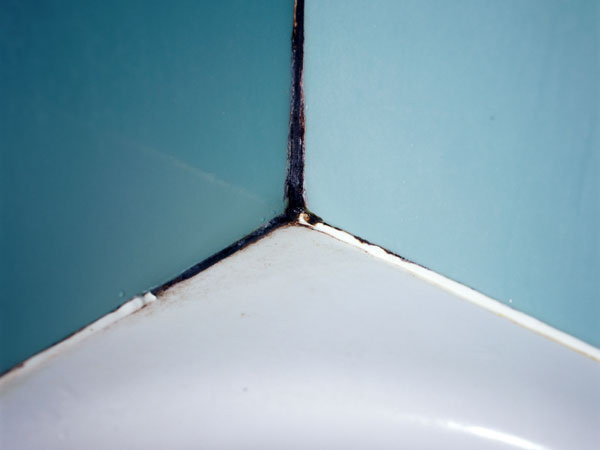
Grout

What to do: Dip a grout brush in straight bleach and scrub any discolored areas; rinse well. Be sure to ventilate the room.

Why: Grout is porous and highly susceptible to bacteria growth.

Best practice: Seal grout every six months to help prevent moisture and grime from infiltrating

Tile, Walls, Ceiling

What to do: Spray tile, countertops, walls, and the ceiling with all-purpose cleaner and turn on the shower, cranking the hot water until steam builds (about five minutes). Turn off the water, shut the door on your way out, and let the steam and the cleaner mix for 20 minutes. Then wipe down all surfaces with a clean cloth. To reach high spots, use a clean, dry microfiber mop. Wipe the tile floor, too, but only after you’ve finished the rest of the dirty work.

Why: Soaps, along with the dirt and the skin cells they slough off, leave behind a microscopic film.

Best practices: To minimize water marks on ceramic tile, apply a coat of car wax once a year. Water will bead up and roll off. Mildew-resistant paint can also help on untiled walls and ceilings 

Toilet

What to do: Start by pouring a cup of baking soda into the bowl. Let sit for a few minutes; brush and flush. Still seeing spots? A damp pumice stone is abrasive enough to remove stains caused by mineral deposits and lime scale but gentle enough not to damage surfaces. Then tackle the toilet brush itself, which you should be cleaning after every use. Here’s how: Secure the brush handle between the already-cleaned seat and the basin so that it hovers over the bowl; pour bleach over the bristles. Let stand for a few minutes, then douse with a pitcher of clean water. Next, fill the brush canister with warm, soapy water and let sit; dump the dirty water into the toilet. In cases of extreme grime buildup (or acute toilet-crevice trepidation), you might want to invest in a small, light-duty electric pressure washer. It lets you blast hard-to-reach areas, like the spots where the hinges meet the seat, from a safe distance start on the lowest setting—you’ll be amazed by what comes out.

Why: Gerba says that a flushing toilet, when viewed in slow motion, resembles a fireworks display. And since germs linger in the bowl even after flushing, bacteria such as E. coli and salmonella can fly into the air and land on the seat, the handle, and other surfaces at any time.

Best practices: Always close the lid when you flush, and use the vent fan (it sucks up bacteria before they can settle). If you’re not already storing toothbrushes and contact lenses inside the medicine cabinet, you may want to start now.

Sink

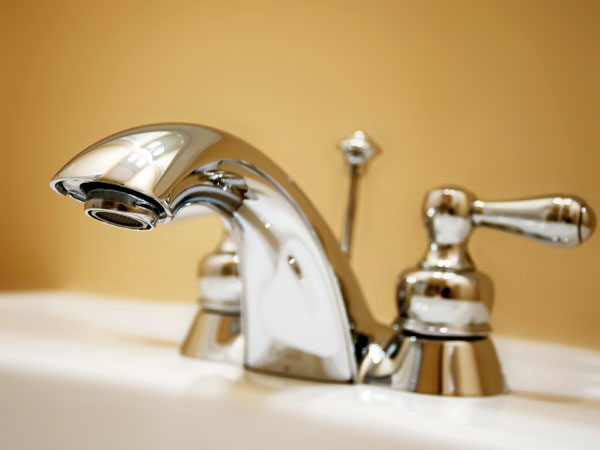
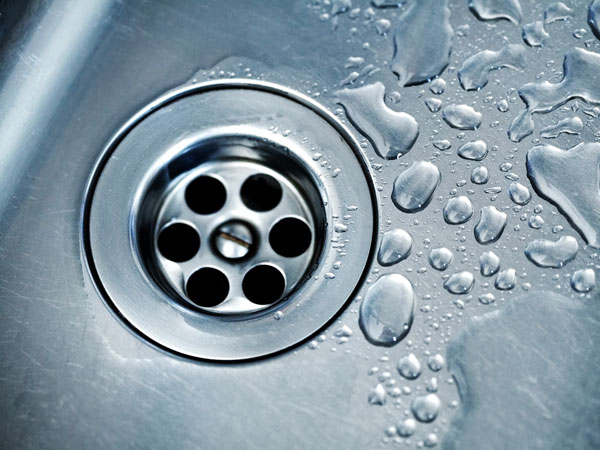
What to do: Pour white vinegar or baking soda down the drain and flush with hot water. For the faucet, Gerba recommends disposable disinfecting wipes, which significantly reduce bacteria. (In contrast, cloths may just move germs from one spot to another; Gerba has even found bacteria from the toilet bowl living in the kitchen sink.) If you must use cloths, be fastidious about where each one is employed and stored. When the handles are done, floss the faucet (yes, you read that right). The stringy stuff is perfect for tackling that narrow, grimy space where the base of the faucet and the taps meet the sink.

Why: Prepare to shudder: The sink drain wins for highest bathroom bacteria count—topping even the toilet seat. In his research, Gerba has detected as many bacteria down there as you would find on a cutting board used to slice raw meat. And faucet handles? You touch them after using the toilet and before washing your hands. Eww. 

Best practice: Dab baby oil on the soap dish to keep the bar from sticking and sliming up.

Hand Towels

What to do: Use the sanitizing setting if your washing machine has one (or bleach them). Replace with clean towels every three to four days.

Why: They’re shared by many, and they trap moisture—that’s a recipe for bacteria stew.

Best practices: Spread out wet towels on a bar, where air can circulate, rather than hanging them from a hook, where folds form. Don’t forget to clean the towel bar; it too collects bacteria. And avoid hanging wet towels near the toilet. 

Ventilation Fan

What to do: First flip the circuit breaker. Then remove the cover and soak it in warm water and dish soap. Use the vacuum’s nozzle attachment to get gunk off the fan blades; wipe with a damp cloth. Remove dust from the motor and other nooks and crannies with a stiff, clean paintbrush, and suck up the debris with a vacuum. When it’s completely dry, replace the cover.

Why: While it helps reduce mold and mildew, the fan also inhales a smorgasbord of airborne particles, which can linger on the blades and the vent.

Best practices: Put the fan on a switch timer (an easy job for a handyman), and run it during every shower and for 30 minutes afterward to keep moisture (and energy use) in check.

And for an overall best practice?Whenever you clean the bathroom, whether deeply or quickly, dry all surfaces well afterward.


You've been Cleaning your oven wrong this whole time!


You’ve Been Cleaning Your Oven Wrong All This Timeoven


If you haven’t been cleaning your oven like this, then you’ve been doing it wrong. You will be absolutely shocked by how effective this Newsner method is.
Here’s what you need:
-Water
-Spray bottle
-Baking soda
-A rag
-Vinegar
-A small bowl
And here’s what you do:
  1. First, remove the oven racks.
  2. Mix a couple of spoonfuls of baking soda with some water in the bowl. Create a paste that will be easily spread on oven surfaces.
  3. Spread the paste on the inside of the oven (baking soda will turn brown). Let it sit overnight (at least 12 hours).
  4. The next day, take a wet rag and wipe out as much of the baking soda paste as you can.
  5. Put some vinegar in a spray bottle and spritz on surfaces where you still see baking soda residue. Then wipe with a wet rag.
  6. Put the racks back in the oven and turn the oven onto a very low temperature for 15-20 minutes to let dry.
To clean the oven window:
  1. Make another paste out of baking soda and water.
  2. Apply the paste directly to the window and let it sit for 30 minutes.
  3. Use a clean rag to wipe the window clean.

Voila!

15 Secrets to Cleaning Your Home in Half the Time

1Have a System

Speed-cleaning expert (and maid service owner) Debbie Sardone says that cutting your cleaning time in half starts with a system. That means cleaning the house in the same order every time: Working one room at a time, starting and finishing at the same spot in a room so that you don't waste time running back and forth.

"To get the time down, you have to be consistent—that's the whole premise," Sardone says. "You do the same thing every time you clean, so it is a routine. The routine is the method, and that is an inherently better way to clean because the speed comes from the method instead of from hurrying. You really can clean your house in half the time. It's not a gimmick."

Clean Top to Bottom, Left to Right

Don't start a room by wiping the coffee table, then clean the blinds, and seeing the dust from the blinds coat your newly clean coffee table. Sardone says to start at the top of the room, such as dusting a ceiling fan, and work down to the floor to eliminate redundant work.
Likewise, cleaning left to right ensures that you cover the entire room instead of darting from place to place.
"Most people see something and clean it, then they look up and see something else and clean it, and the dirt falls down on what you just cleaned," Sardone says. "If you work top to bottom and left to right, you're working once instead of cleaning areas you've just cleaned."

3 Squeegee Windows for a Streak-Free Finish


Can't get the shine you want with Windex and paper towels? Author and speed-cleaning expert Laura Dellutri's weapon of choice is a professional-grade window squeegee, which starts at about £10. Place a drop of dish soap in a gallon of water, wipe it generously on the window with a cloth, then squeegee it off. "Go top to bottom and wipe the blade each time at the bottom," she says. "You'll get a window that is streak-free."
If you don't want to use a squeegee, Dellutri recommends a glass cleaner and a microfiber cloth. When wiping with the cloth, use horizontal strokes and move from top to bottom. Don't clean a window by rubbing in circles, which can leave streaks, and avoid wiping the glass with newspaper or paper towels, which leave a residue.

4 Keep Proper Tools at the Ready


Having all the tools and cleaning products you need at arm's-reach means you won't waste time walking back and forth to the cabinet under the sink. Sardone recommends wearing an apron, or even a carpenter's tool belt, and filling the pockets. This might be hard with several large bottles of cleaner, but you don't need large bottles—pour the cleaners into small spray bottles that are easy to carry. You can also place your supplies in a caddy or a bucket to stay organized and save time.
"If you hired a carpenter and he went up and down a ladder every time he needed a nail, you'd never tolerate it," Sardone says. "You want him to have everything with him. You can do the same with cleaners."

5 Get Proactive


The best way to keep a clean home is to stop some problems before they begin. For example, Dellutri recommends using a shower cleaner, which costs less than £2 for a trigger bottle, to prevent grime and scum buildup in the bath. "You can spray it on and walk away," she notes. "Every time you take a shower, spray it on to prevent having a dirty shower. Spray it on, rinse, and walk away. You don't have to wipe or anything."

6 Dust Without Spraying


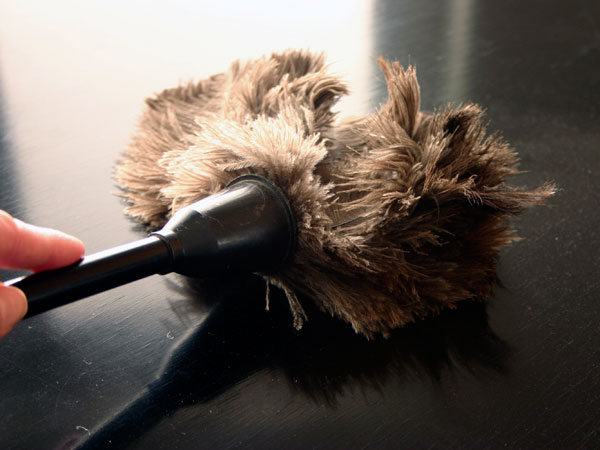
Feather dusters work great for cleaning blinds, pictures, nooks, and other areas. Sardone likes ostrich feather dusters, which start at about £4, because the feathers tackle the dust and the large quills don't fall out of the handle. "You want a high-quality feather duster that will fit in your back pocket," she says. The duster works well for routine dusting, but for heavy buildup, you'll need to vacuum or use a cloth, then use the duster every two weeks or so after that.

Grease inevitably ends up on kitchen cabinets, especially those above or next to the range. You can buy a cleaner with orange oil to wipe off the grease, or you can use a standard grease-cutting dishwashing detergent. The detergent will cut through the grease on the cabinets just like it does with dishes.
Mix one tablespoon of liquid detergent with a gallon of warm water. Test the solution in an inconspicuous area, wiping it on with a clean sponge or cloth, to make sure it won't damage or discolor the finish. Then rinse it off with a different sponge and clear, warm water.
For tough stains or buildup that won't come off with detergent, mix baking soda with water and lightly scrub the problem area with a cloth.

8 Lemon Cleaner


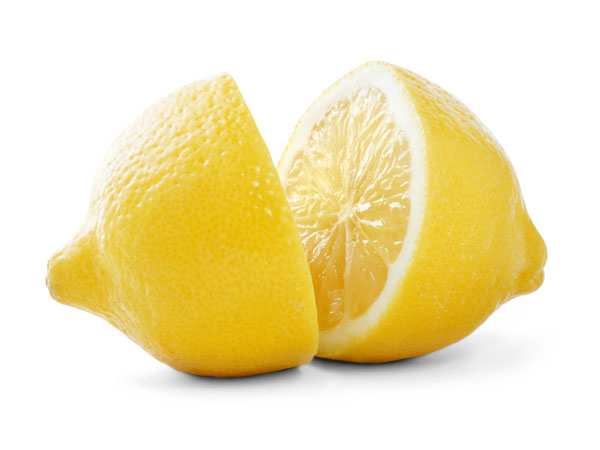
Rust stains on patios, porches, garage floors, and driveways are eyesores, but you don't need acid to remove them. Instead, use a lemon. The acid in the lemon juice will dissolve the rust. Cut the lemon in half, squeeze the juice onto the stain and let it soak in for about 10 minutes. For stains that have been on the concrete for weeks, months, or longer, scrub with a hard bristle brush. Then rinse off the lemon juice and gunk with clean water.

9 Battle Bathroom Mold


Mold haunts bathrooms that aren't well-ventilated because water remains on the walls after bathing. Use hydrogen peroxide in a trigger-spray bottle to battle mold and mildew, Dellutri says: "Spray it on, let it sit 3 to 5 minutes, and it will kill the fungus."
To keep mold from coming back, use a fan when showering. When you're done, take a couple of minutes to squeegee the water off the tile walls and shower door.

10 Defeat Mineral Deposits

If mineral deposits from hard water have stained your plumbing fixtures, don't clean them with bristle brushes or pads. They can scratch the faucet. Instead, use white vinegar. Pour some on a clean cloth and wipe the faucets. It doesn't take much effort to make them sparkle.

11 Keep Stainless-Steel Shining

Fingerprints, smudges, and watermarks are the enemies of stainless-steel sinks and surfaces. Mineral oil can help you beat them, Dellutri says. "Pour some mineral oil on a cloth and wipe it down once a week. This repeals the water." The mineral oil also helps keep toothpaste and other items from sticking to the sink, making it easier to wipe clean.

12Make Friends With Magic Erasers

Sardone and Dellutri both are fans of Mr. Clean Magic Erasers, which cost about £2 for a four-pack. "They take stains off when nothing else will," Sardone says. "Keep a couple in your caddy when you're cleaning." Dellutri says the Eraser is ideal for cleaning walls and almost any floor surface, including wood, laminate, and tile.
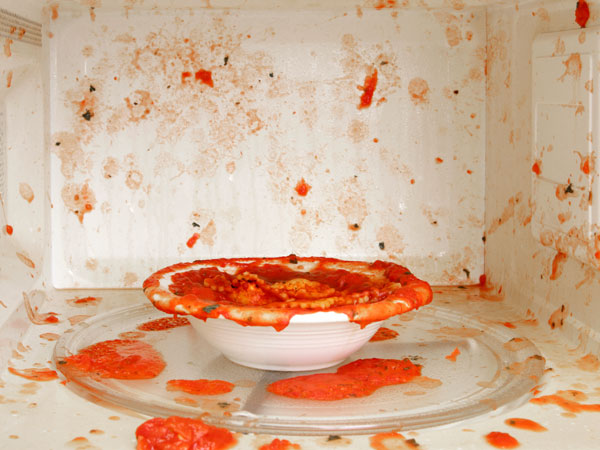
The inside of your microwave probably looks like a war zone, and baked-on food, especially if it has been sitting for days or longer, can be tough to remove. 
The trick: Have the microwave help you. Dellutri says to put a coffee cup full of water in the microwave and heat it up until it's boiling hot. "This creates moisture that loosens up anything on the top, sides, or bottom of the microwave," she says. Then take a damp cloth and wipe the surfaces clean.

14 Vacuum in Rows

Dellutri's secret to effective and efficient vacuuming: Do the entire length of the room in a straight row, then move over and start again at the front of the room. Dellutri says to vacuum high-traffic areas once a week.
"Vacuum in long corn rows, and back out of the room," she says. "You can do it fast, and put the cord over your shoulder so you're not fighting it. When you're done, it looks beautiful."

15 Speed-Clean Regularly


If you really want to cut down your cleaning time, Sardone says, then you really need to clean more often. Once you've deep-cleaned your house, give it a once-over every couple of weeks. It'll keep the place looking nice and spare you the long, agonizing job of doing several months' worth of cleaning at once. "You create maintenance cleaning instead of catch-up cleaning," she says.

Hope these tips are going to help!

-M

www.Fancywindowcleaners.com


Monday, 4 April 2016

Jet Washing: How To Jet Wash Your Patio Or Decking

Jet washing: How to pressure wash a patio or decking

Difficulty: Low
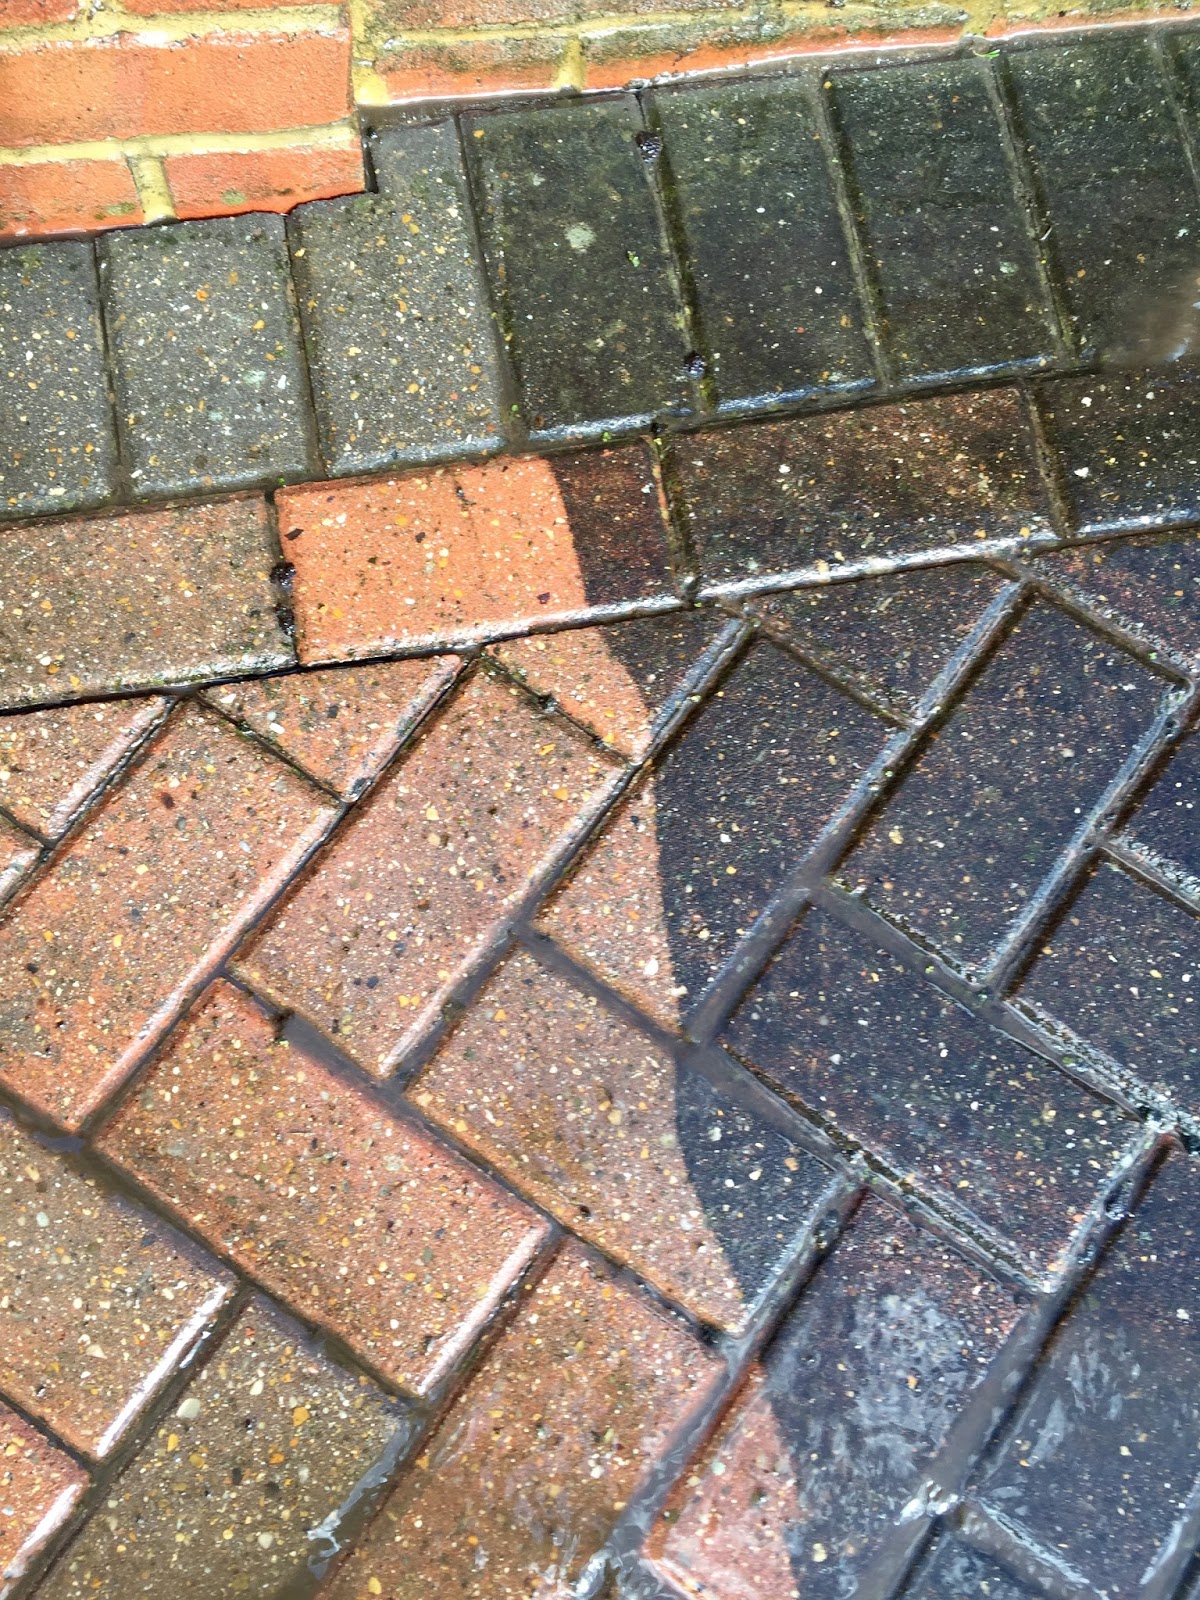
Using a pressure washer to get rid of all the algae, lichen and moss that's covering your patio can help you skip the hard work of using a manual scrubbing brush. Their powerful pump and narrow nozzle make pressure washers blast water in a forceful spray, which will remove dirt and grime quickly while using water more efficiently than a normal garden hose.

Which pressure washer do I need?

Your standard hardware shop jet washer (Karcher, Makita, Black & Decker) will do just fine.

How to pressure wash a patio:

Step 1
Clear your patio completely by removing all furniture, ornaments and pots.
Step 2
Using a broom, brush away any loose debris such as leaves and dirt.
Step 3
Connect your hose and ensure that water is running freely before you begin. Allow water to flow through the machine to remove any air locks. Please note the hose should be a minimum of 7.5m in length and ½ inch thick. If you're using a hose reel, this should be fully unwound and free of kinks to ensure a constant water flow. To connect your hose you will require two universal connectors and a tap adaptor for your garden tap.
Step 4
Connect your pressure washer to the mains electricity supply then turn it on to pressurize the system.
Step 5
Before you start cleaning your patio, you could apply detergent to the surface to help dissolve dirt and make the patio easier to clean. Some detergents also have special properties that will help reduce the build-up of dirt going forwards and will also protect your surfaces from weather damage. Specific detergents are available for stone, wood and vehicles, each with specially designed formulae to suit the task.
Step 6
Some dirt and organisms like lichens can be hard to remove using a standard lance or patio cleaner. Most pressure washers come with a rotary pencil jet nozzle that can provide up to 80% more power. By switching to this lance you can ensure even the most stubborn dirt can be removed. It is important to note that the increased power of these lances means they should only be used on hard surfaces such as stone or brickwork, sensitive surfaces such as wood or vehicle paintwork may be damaged if cleaned with this type of lance.

How to pressure wash decking:

To clean decking, you should follow the same process as cleaning a patio. As mentioned in Step 5, there are specific detergents for woodwork available that will protect your decking from UV damage whilst helping you dissolve the dirt. As mentioned in Step 6, rotary pencil jet nozzles are not suitable for wooden surfaces, most machines will come with a variable pressure lance where pressure can be reduced so that they can be used safely on your decking.
If you are having trouble you can always contact us at Fancy Window Cleaners and we will be glad to help! 
Have a look at our recent work.


Tuesday, 1 March 2016

How To: Clean Your Windows


Getting the windows on your property clean is probably the least thing you're looking forward to while planning a spring-cleaning. At the same time, it’s unbearable to look at the windows and, instead of enjoying a lovely view, staring at dirt, dust, raindrops’ marks, stains and even cobweb ruining the entire scenery. Although you don’t have to do it that often (maybe four or five times a year), washing windows may get quite hard and annoying. But when you actually get that done, it feels so good, as if you couldn’t see very well and your sight was magically fixed. It also reminds me of wiping the lenses of your glasses – you are always too lazy to do it, but once you step over yourself and wipe the lenses till they’re perfectly transparent, you instantly seem to be able to see much better. All colors become much brighter, all objects can be seen much more clearly. 
The same applies to the windows of your house, but as they’re much bigger and get much dirtier, the cleaning process takes more time, effort and patience. The frustration levels go up insanely, when you’re trying to remove stains, or, especially, when you just can’t get rid of those stubborn streaks. You spent hours doing that, and, convinced that they’re gone, you were almost ready to sigh with a relief. But as you stepped back, you still could notice cheeky little streaks ruining your job. Sounds familiar, doesn’t it? Cleaning the windows can be also tricky if you live in an apartment. It is too dangerous to hang out of a fifth floor window just to get to the top corner and at least slightly wash it. So, if you don’t want to face those problems, then it’s possible to hire professional window cleaners. Fancy Window Cleaners Ltd are fully insured professionals and already have all necessary tools and cleaning supplies, they know what works best and they do the job quickly and efficiently. They leave your windows shining and sparkling. Besides, you can afford their services, as the need to wash windows doesn’t emerge every week or even month. It’s possible to spare some money on window cleaning three times a year and get them cleaned and polished by someone, who knows his business. Actually, it even saves your time and money you would have to spend on cleaning tools and supplies. And, of course, results are far better. But, if you’re still determined to wash your windows by yourself or carry out an additional wash between the times the cleaners are supposed to come, then here's some tips that will help you save time and nerves while doing the job and achieve better results at the same time. So, if you’re interested in that, let’s dive right into it. 

1. Proper equipment to clean windows 
Perfect finish may be achieved only if you use right tools. Of course, you may spend hours trying to get rid of stains and streaks only on one window, but do you really want that? I don’t think so. Then, the first must-have is a good squeegee with an adjustable handle and extension poles. Remember, that rubber insets tend to wear out and then they don’t work as good as new ones. So, it’s necessary to replace them after several washes. A squeegee that has a swiveling handle may be even better, as it’s easier to maneuver (which is particularly useful in case you have tall windows). Anyway, a good quality squeegee will save you hours of rubbing and wiping in desperate attempts to wash the window immaculately without leaving any streaks or marks. Detergent is the next thing you’ll have to think of. Some people recommend using the mixture of water and vinegar, but you might not like it, as it doesn’t foam. You won’t be able to see clearly, what parts you’ve already washed and if there’re any streaks left. So, it’s better to use all-purpose detergent or even hand dishwashing liquid, as it’s softer on your hands and doesn’t ruin the squeegee’s rubber insert. Obviously, you’ll need a bucket, a sponge and several microfiber cloths or just regular towels. You may also use a pad (window cleaning handtool) instead. If you there’re any paint or varnish spots, dried-up insect marks and birds’ you-know-what on your windows, then you might need a scraper to get rid of them. Rubber gloves (you may take your old dishwashing ones) and window-cleaning spray may also come in handy. 

2. Choose the right washing day 
As funny as it may seem, it’s better to clean your windows on a cloudy day, as the sun doesn’t allow you to notice all streaks and also makes your cleaning mixture dry up much faster, so it may result in more streaks and even marks of water on windows. 

3. Preparations 
Take a brush with soft bristles and remove all the dust, cobwebs and other rubbish that got stuck to your windows, windowsills and window frames. Cover your indoors’ windowsills with a cloth, so that it will absorb any drips. Dust or even wash the blinds. 

4. Start washing 
Fill the bucket with water up to its half and pour a few drops of detergent in it. That’s your cleaning solution. We say it’s better to use cold water rather than warm, as the latter evaporates faster and leaves drop marks before you actually get to wipe all water off. Wet your rag, sponge or a pad in the mixture, remove the excess water so that it doesn’t drip and start washing the window in rubbing motions to clean off the dirt. Now you may also scrape the marks off the window. Move your blade up and down in one direction in order to avoid scratching. 

5. Squeegee time
Grab a squeegee, wet it a little and begin removing the cleaning solution from the window. Start from the top corner of the window and work your way down in a straight line. Repeat the steps as many times as necessary to clean the whole window. Overlap each previous stroke not to miss anything. Don’t forget to wipe the water of the squeegee every time you reach the window’s bottom. When you’re done, perform a final horizontal stroke along the bottom frame of the window. 

6. Correction is perfection 
Although squeegee provides perfect results, there might be some streaks left. Remove them using a dry microfiber cloth. 

7. Reaching the finish line 
Wipe the water off the sills and frame, step back and enjoy your perfectly clean windows. Nice job! If you follow these steps, it won’t be too hard for you to get windows cleaned nicely and relatively fast. But, if you’re not sure if you want to go through this process on each window you have, then visit www.FancyWindowCleaners.com and let professionals do their job and leave your windows sparkling! 

Thanks for reading!
-M